Ceiling fans are unsung heroes in most homes, quietly circulating air to keep us cool in the summer and warm in the winter. However, they’re often overlooked in cleaning routines, allowing dust, dirt, and allergens to accumulate over time. If your ceiling fans haven’t been cleaned in over two years, they likely look more like dust monsters than functional appliances. Don’t worry—restoring them to their former glory is easier than you think. Let’s dive into the best ways to clean your ceiling fans and keep them spotless moving forward.

Why Cleaning Ceiling Fans Is Essential
Before you grab a cloth and start wiping, let’s discuss why cleaning your ceiling fans is so important. Dusty fan blades do more than look gross—they can affect your home’s air quality and even harm your health. Each time you turn on a dirty fan, it scatters allergens and dust particles into the air, which can irritate allergies or respiratory issues. Plus, built-up grime can reduce the fan’s efficiency, forcing the motor to work harder and consume more energy.
Assessing the Situation: How Bad Are They?
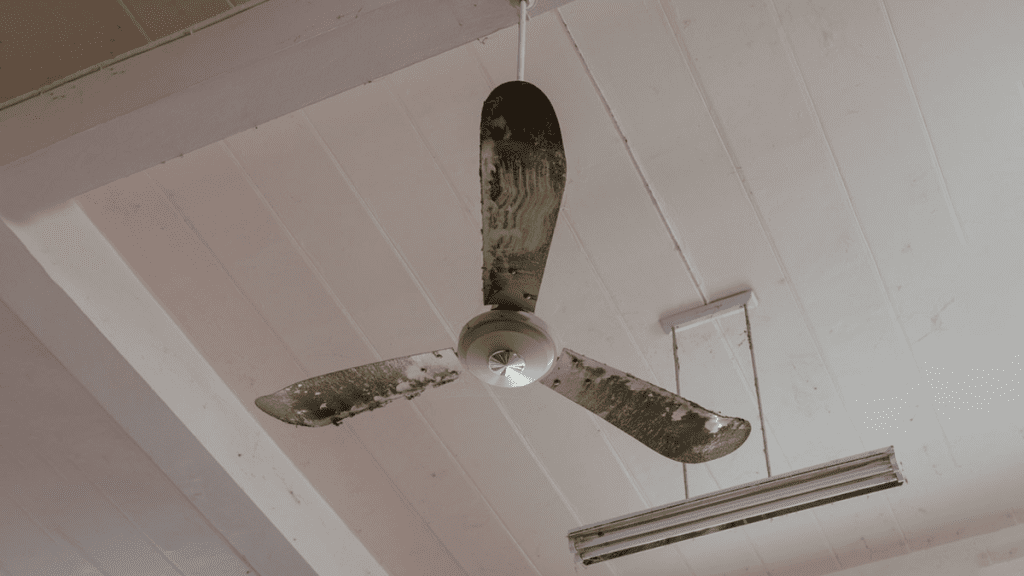
Take a moment to inspect your ceiling fans closely. Are the blades coated in a thick layer of dust? Do you see grime caked onto the motor housing or light fixtures? If you notice wobbling blades or hear strange noises, the dirt may not be the only issue—you might need some minor repairs as well. Understanding the state of your fans will help you choose the right cleaning approach and decide whether additional maintenance is necessary.
What You’ll Need: Gathering Cleaning Supplies
Before tackling your filthy fans, gather the following supplies to make the job easier:
- A sturdy step ladder
- A microfiber cloth or duster
- A vacuum cleaner with a brush attachment
- A spray bottle with a mild cleaning solution (water and vinegar works wonders)
- An old pillowcase or sheet
- A soft-bristle brush for stubborn grime
- Gentle degreaser (if needed)
Having the right tools on hand will save you time and frustration. Trust me, you don’t want to be halfway through cleaning and realize you’re missing something crucial.
Prepping the Area: Avoid a Messy Cleanup
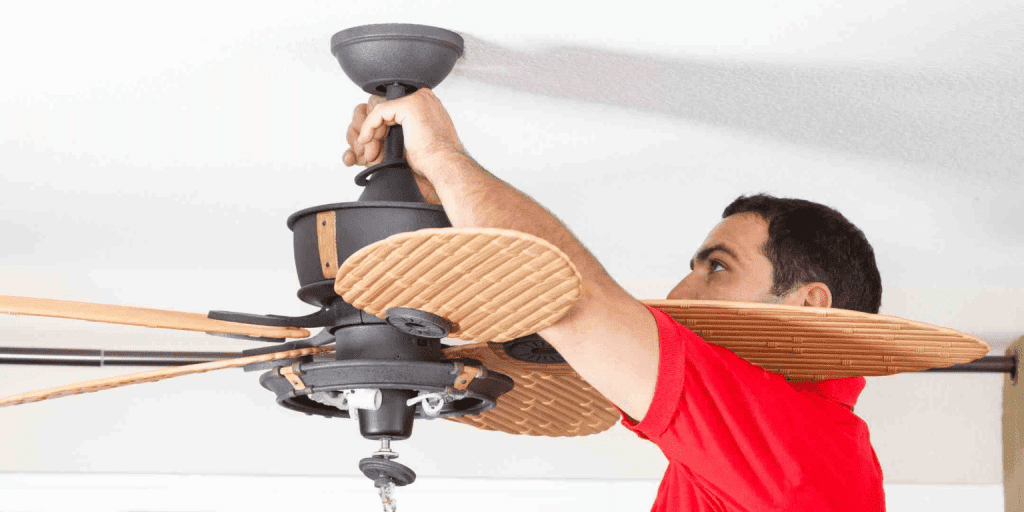
Before you start, prepare the area to catch falling dust and debris. Lay an old sheet or drop cloth on the floor beneath the fan. Make sure the fan is turned off, and the blades are completely still. If your fan has a light fixture, consider removing any fragile parts or covering them for protection. Once everything’s ready, grab your ladder and get to work.
Step-by-Step Cleaning Guide for Ceiling Fans
Let’s break down the cleaning process into simple, manageable steps. Follow these, and your fans will be spotless in no time:
1. Start with a Dry Dusting
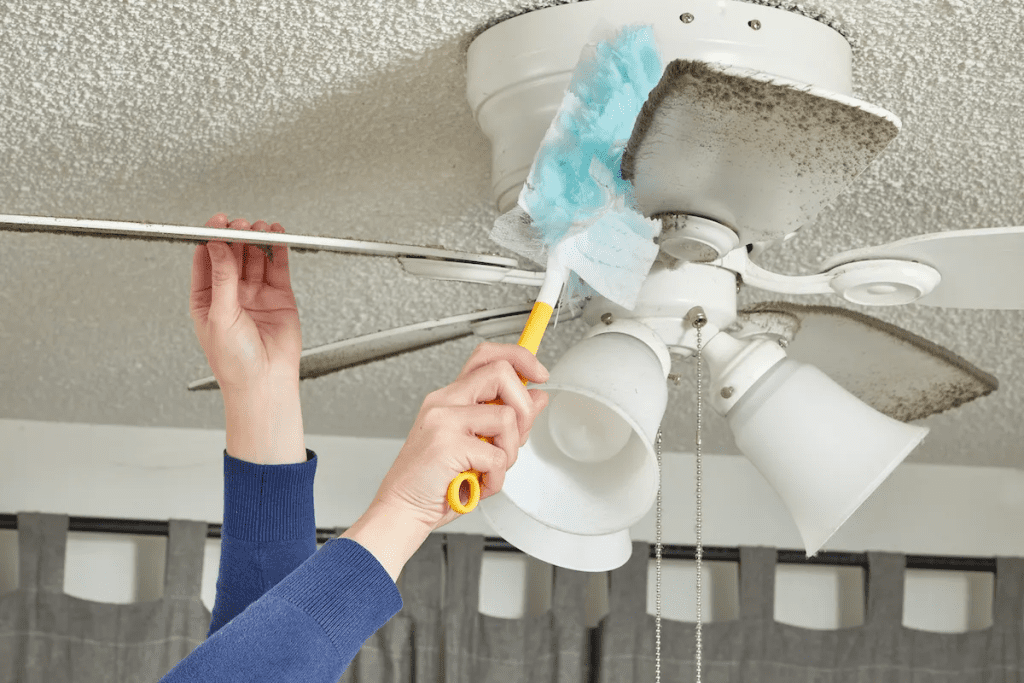
Use a microfiber cloth or duster to remove loose dust. For an extra-clean approach, slip an old pillowcase over each blade and pull it back gently, trapping the dust inside the fabric.

2. Wipe Down with a Cleaning Solution
Mix water and vinegar in a spray bottle for a gentle cleaning solution. Spray it onto your cloth, not directly on the fan, to avoid damaging the motor. Wipe each blade thoroughly, paying attention to the edges where dirt tends to build up.
3. Vacuum Hard-to-Reach Areas
Attach a brush nozzle to your vacuum cleaner and carefully clean the motor housing, base, and any nooks you couldn’t reach with the cloth.
4. Address Stubborn Grime
For blades covered in grease or sticky dirt, use a soft-bristle brush and a mild degreaser. Apply the cleaner sparingly, scrub gently, and wipe away any residue with a damp cloth.
5. Clean the Light Fixtures
If your fan has lights, remove the covers and wash them with warm, soapy water. For non-removable parts, wipe them carefully with a damp cloth.
6. Final Check and Drying
Inspect your work. If any spots still look dirty, repeat the necessary steps. Make sure everything is completely dry before turning the fan back on.
What to Do About Stubborn Dirt
For fans that are especially filthy, you might need to get a little more aggressive with your cleaning. Let the cleaning solution sit on problem areas for a few minutes before scrubbing. Be patient—sometimes, years of grime won’t budge with just one pass. Avoid using abrasive cleaners or harsh chemicals that could damage the fan’s finish.

How to Keep Ceiling Fans Clean Longer
Once your fans are sparkling clean, it’s easier to keep them that way with a little routine maintenance. Here are some tips:
- Dust regularly: Use a microfiber duster or fan cleaning tool at least once a month.
- Check for imbalances: Tighten any loose screws or adjust wobbling blades promptly.
- Use covers during downtime: If you don’t use your fans during certain seasons, cover them with plastic or fabric to prevent dust buildup.
- Clean the motor housing periodically: A quick vacuuming every few months will keep it free of dirt and debris.
These simple habits will save you from tackling another two-year dirt build-up in the future.
When to Call in the Pros
Sometimes, cleaning isn’t enough to fix the problem. If your fan wobbles excessively, makes strange noises, or has electrical issues, it’s time to call a professional. Likewise, if your fans are mounted on high ceilings or are hard to access, consider hiring a cleaning service. Pros have the tools and expertise to handle these situations safely and efficiently.
Conclusion: Breathe Easier with Cleaner Fans
Cleaning your ceiling fans after two years of neglect might seem daunting, but the payoff is worth it. Not only will your fans look better, but they’ll also circulate cleaner air, improve energy efficiency, and last longer. A little effort goes a long way in maintaining a healthier, more comfortable home environment. So grab your supplies, roll up your sleeves, and get those fans spinning clean and dust-free!


