The marking gauge may seem like a simple, even overlooked tool in today’s hand-tool shops, yet it holds a place of critical importance for any woodworker. This humble tool allows for accurate measurements, helps transfer dimensions from one piece to another, and creates uniform surfaces for planing. In this article, we’ll explore the history, types, and essential features of the marking gauge, along with tips on how to build one yourself, inspired by the classic designs of the 18th century.

What is a Marking Gauge?
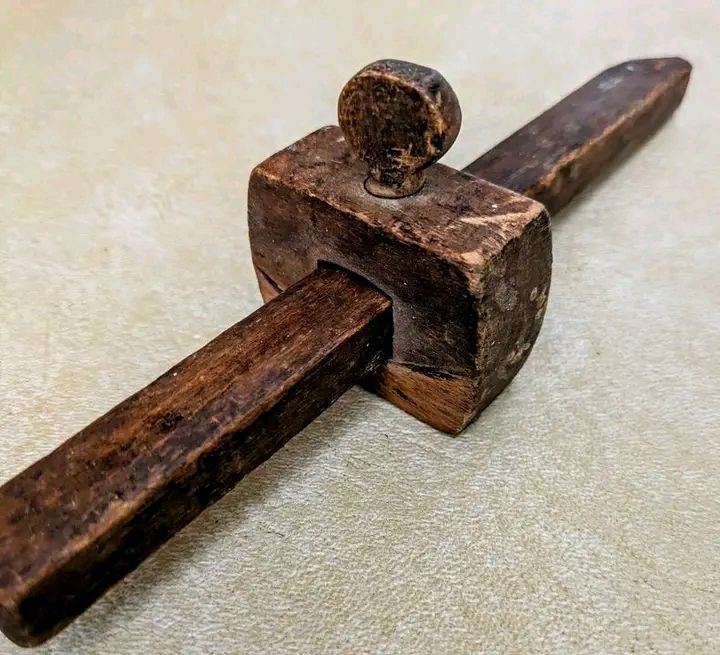
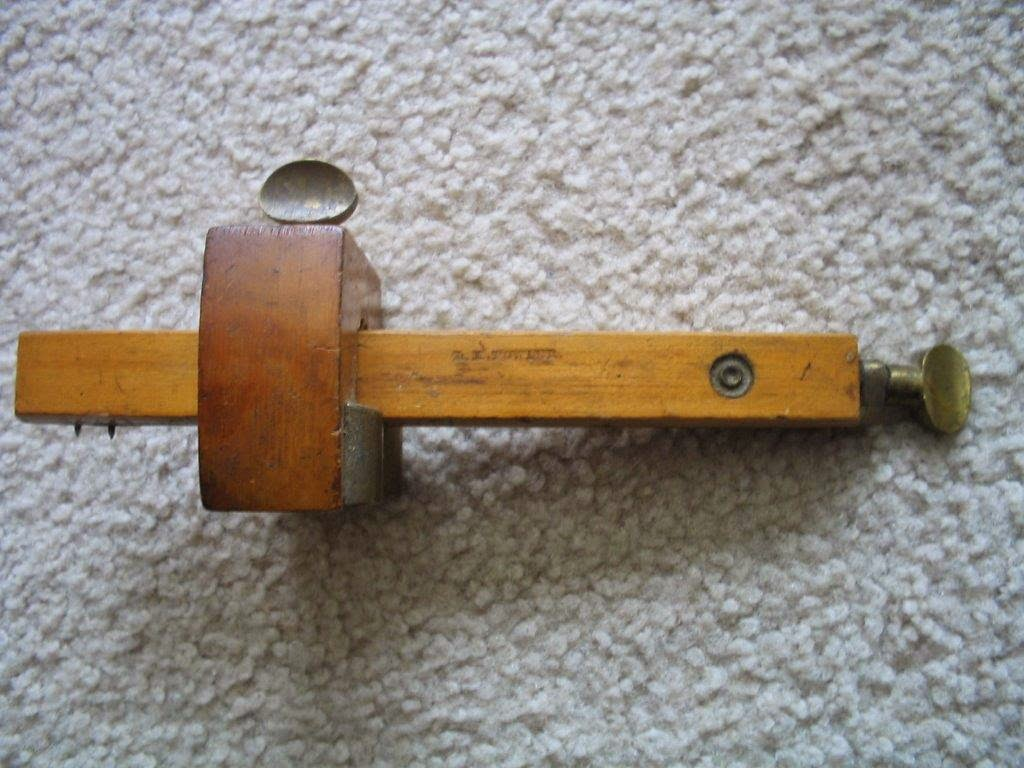
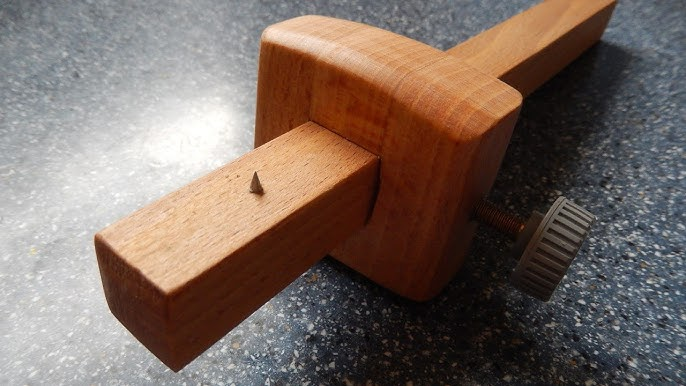
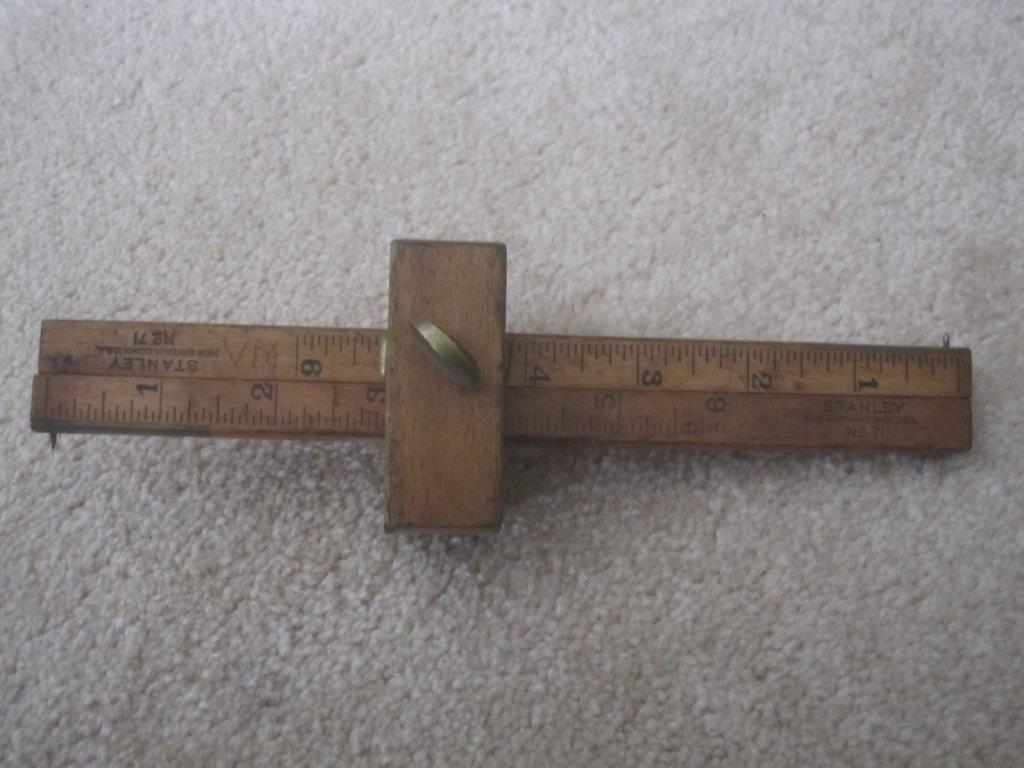
A marking gauge is a tool used to scribe a line parallel to a reference edge or surface. Its primary components include a head, an arm, and a pin or blade, which marks the wood by scratching or cutting the surface. This tool is invaluable for tasks requiring precise and repeatable measurements, such as marking out mortises, tenons, or dovetail joints.
The Historical Significance of the Marking Gauge
Inventories of toolmakers from the 18th century show that marking gauges were widely produced and essential for woodworkers of the era. Many artisans even crafted their own marking gauges using available materials. The design we use today has largely been preserved over time, maintaining its usefulness in both traditional woodworking and modern settings.
Types of Marking Gauges
Marking gauges come in several variations, each suited to different tasks and preferences:
1. Pin Marking Gauges
The most common type, these gauges feature a pin that scratches the wood surface to create a line. Pin marking gauges are well-suited for marking long grain but may cause tear-out when used across the grain.
2. Cutting Gauge
Instead of a pin, this gauge has a sharp blade that cuts the wood fibers. A cutting gauge provides a cleaner line, especially useful for cross-grain marking where a pin may leave a rougher edge.
3. Wheel Marking Gauge
This design incorporates a circular cutting blade at the end of a threaded rod. The wheel marking gauge is ideal for clean, consistent lines and excels at marking both with and across the grain.
Building a Marking Gauge: A Step-by-Step Guide
Inspired by the classic 18th-century design found in the tool chest of Benjamin Seaton, an English woodworker, you can craft a simple yet effective marking gauge. The beauty of building your own lies in the customization possibilities—you can tailor the dimensions to suit your personal needs and hand size.
Materials Needed
To build a marking gauge, gather the following materials:
- 6/4 stock for the head (beech, cherry, or maple works well)
- 4/4 straight-grained stock for the arm
- 4d finishing nails or cut brads for the pin
- A drill bit (5/64″ is ideal) for shaping the pin
- A screw for the locking mechanism
Step 1: Crafting the Arm and Head
Begin by cutting the arm to your preferred length and width. For simplicity, many woodworkers make the arm slightly narrower than the width of their chisel blades to streamline mortise marking. Shape the head of the gauge to fit comfortably in your hand; traditional designs feature a rounded or chamfered edge for a smooth grip.

Step 2: Adding the Pin
Shape a pin from a finishing nail or brad and insert it into the end of the arm. Sharpen the pin to a point or small knife-like edge to allow for smoother marking. This pin should not protrude too far beyond the arm, as a shorter pin reduces the risk of bending and creates more precise lines.
Step 3: Assemble and Secure the Gauge
Secure the arm within the head by drilling a hole for a locking screw or using a wedge to hold the arm in place. In the Seaton gauge design, a captive wedge allows for easy, one-handed adjustments. Adjust the tension on the arm by tapping the wedge lightly against a workbench to lock or release the arm as needed.
Using Your Marking Gauge
Mastering the marking gauge requires a bit of practice. With a traditional pin gauge, the pin should trail behind the arm rather than sit perfectly perpendicular to the workpiece. For long-grain marking, start with a light touch on the first pass, gradually increasing the pressure to deepen the mark if needed.
Techniques for Cross-Grain Marking
When marking across the grain, maintain a low angle of attack with the pin or blade to prevent tear-out. Use a light touch, as too much force can mar the wood surface. If you’re marking for a mortise, use the marking knife first to delineate the boundaries of your work.

Adjusting and Locking the Gauge
The unique wedge system in classic marking gauges allows for quick adjustments. Slide the head along the arm until you achieve the desired setting, then press the wedge down to create friction. Tap the wedge gently to lock it in place, and a quick tap on the opposite side will release it.
Choosing the Right Marking Gauge for Your Work
Whether you’re working with hard or soft woods, the right marking gauge makes all the difference. Here are a few tips for selecting the best gauge for your needs:
- For Versatility: Opt for a wheel marking gauge if you frequently mark across the grain.
- For Precision Work: A cutting gauge provides cleaner lines and is ideal for joinery.
- For Traditional Woodworking: Stick with a pin marking gauge for a more authentic approach, particularly suited to marking long grain.
Maintaining Your Marking Gauge
With regular use, it’s important to keep the marking gauge in top condition. Ensure the pin or blade is sharp for clean marking lines, and apply a light coat of oil on the wood periodically to keep it smooth and prevent cracking. Additionally, if you use a wedge system, avoid over-tightening, as this can damage the gauge over time.

Conclusion: Embracing the Tradition of the Marking Gauge
The marking gauge is more than just a tool; it’s a vital link to centuries of craftsmanship and woodworking tradition. Building and using a marking gauge can enhance your skills, allowing you to create more accurate and refined projects. So, whether you’re crafting furniture, cabinetry, or smaller woodworking pieces, a well-built marking gauge can make your work more precise and enjoyable.
By exploring the world of marking gauges, you’re embracing a tool that has stood the test of time and remains an indispensable part of any woodworker’s collection.


